

in the previous cool photoshop tutorial we have a kamehameha (dragon ball 2009) effect, now let's try to make the ball of yellow dragon ball...this is one of amazing tutorial i ever made....lets try...
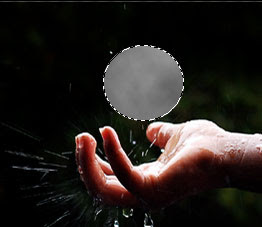
1. open your hand image...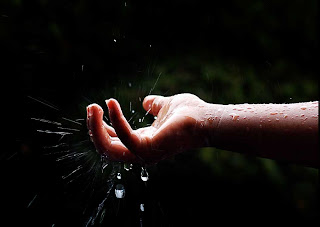
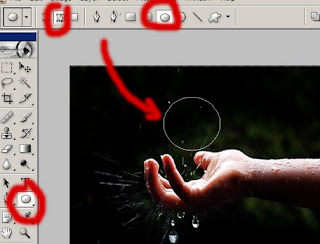
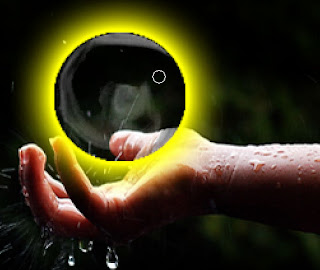
2. make a new layer (Shift+Ctrl+N), then make a circle (ball) selection using this tool
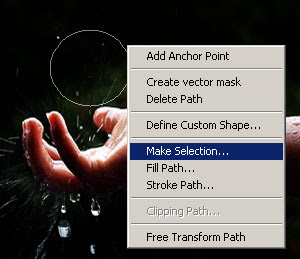
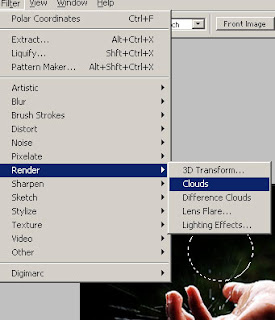
3. then fill that selection using filter>render>clouds (the default color is black and white)
4. then go to filter>liquify, and make distort arround the ball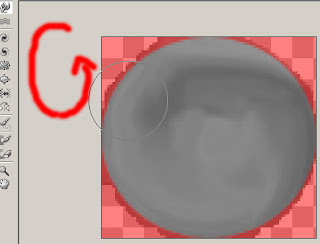
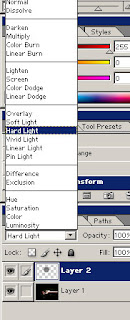
5. change the blend mode to hard light
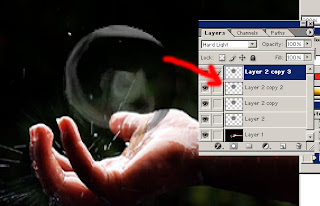
6. duplicate that layer, 4 times...by pressing Ctrl+J
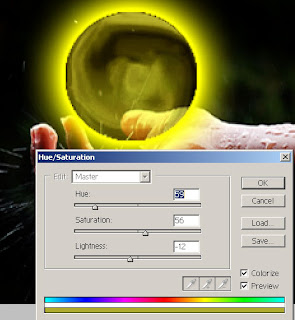
7. in the one of these layer, add outer glow with yellow color for outer effect, and use hue/saturation (colorized) to change the ball color
8. in the active layer, add the stars using brush tool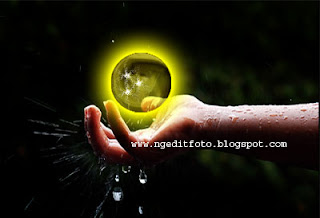
9. and you finished this tutorial...simple, isn't it? (^_^)
1. open your hand image...

2. make a new layer (Shift+Ctrl+N), then make a circle (ball) selection using this tool


3. then fill that selection using filter>render>clouds (the default color is black and white)


4. then go to filter>liquify, and make distort arround the ball

5. change the blend mode to hard light

6. duplicate that layer, 4 times...by pressing Ctrl+J

7. in the one of these layer, add outer glow with yellow color for outer effect, and use hue/saturation (colorized) to change the ball color


8. in the active layer, add the stars using brush tool

9. and you finished this tutorial...simple, isn't it? (^_^)


